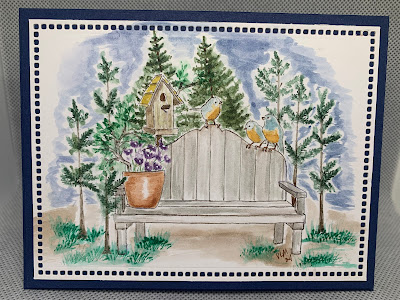
I pulled out my stampscapes stamps this past week 😊. I enjoyed using them and need to pull them out more! This style of stamping is unique with adding skies and foregrounds. It isn’t hard just takes a bit of preplanning.


I pulled out my stampscapes stamps this past week 😊. I enjoyed using them and need to pull them out more! This style of stamping is unique with adding skies and foregrounds. It isn’t hard just takes a bit of preplanning.
I have finished my Christmas cards last week!!!!!😁 Woo Hoo I’m not sure I’ve ever finished this early with my homemade cards, I made a variety. I was on a roll and just kept making, multiples of each card. So if your a family member or friend reading this post don’t be surprised if you see one of these in your mail.

Some of these were “case”d but I made the backgrounds with watercolor paper and Stampin Up ink colors. (it is not DSP.)
Well… what will I do in Nov and Dec now?😆 I know what I won’t be doing, rushing to get cards made so I can send.
Hello everyone who is out there and looking at this post thank you for stopping by. I decided to make a new fun fold card today and I do not know what the name of it is, But it has a pop out piece on it that you can adhere another panel too. Here’s a picture of the card I made


Now that’s really the two basic pieces that you might need to know the measurements for. The reason I’m saying that is because that middle panel could be any size you want it to be added to the “box” and then a focal point would be added if you desire onto the front folded back piece any shape or size you want it. I added a white panel on the middle piece for my sentiment. If you want to decorate it just add a white panel to the back of the card for your sentiment and signing. That’s about it for this card if you have any questions you could contact me by leaving it in the comments below.
Have a good day and happy Stamping…. Once again….. Thanks for stopping by😁.
Melodie from Paper Celebrations — that’s who I CASE’d (copy and share everything) this card from! I fell in love with the colors and the stamping tone on tone behind the stamped and raised flowers. It adds such a nice look and is so easy to do… you’re already using that stamp set why not take your card to that next level, gives it depth and just looks great!! She is a blogger I follow and on the Stampin Up Artisian team.
As I was working on making a few of these I received word that my sister-in-law’s mother had passed away-bingo one lovely card done and in the mail that day!


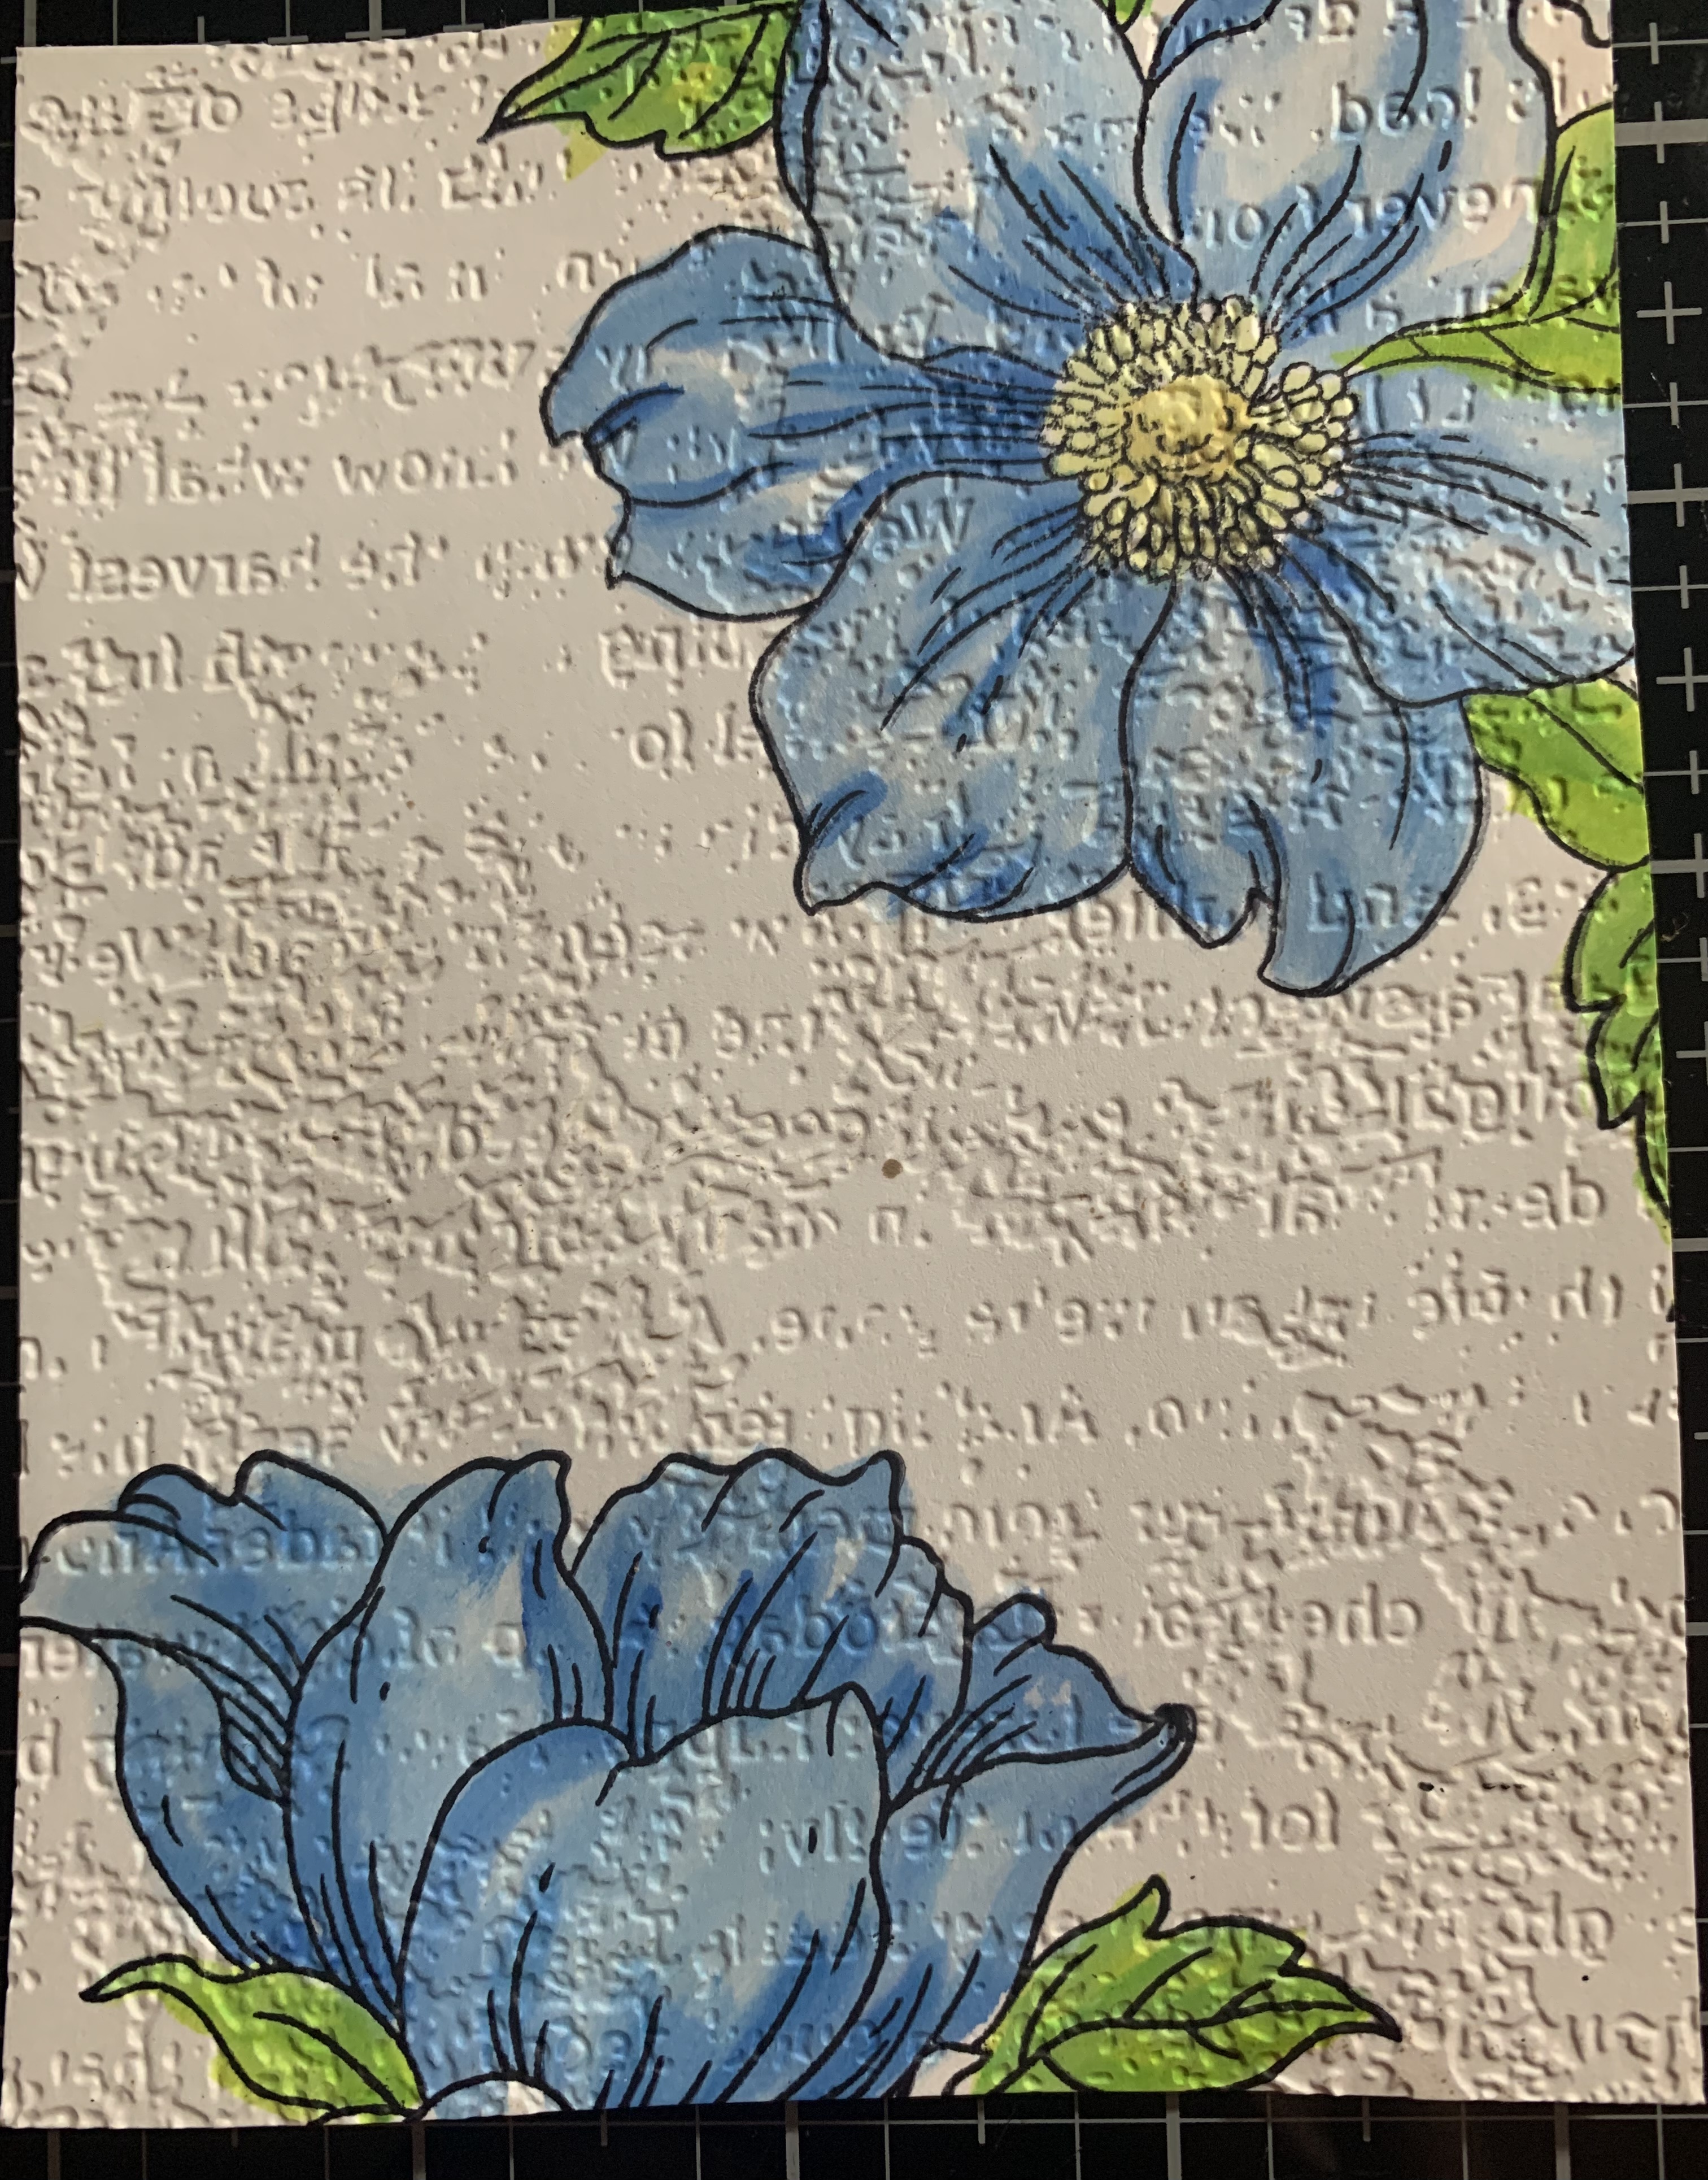
This Stamp from Altenew is a big one. I loved these flowers and decided to get it a while back. I’ve used it for some other cards but I decided I wanted to try something different this time. I stamped the floral image multiple times on an 8 1/2 x 11 piece of card stock. Then I water colored the flowers and leaves Cut it in quarters and now I’m assembling the pieces in two cards I have two of them done working on the other two. I left enough space so that I could add a sentiment when I decide who I’m going to send these cards to.
I found a Stamping in the center and then in certain places around the edge is a good way to do this. There are many other people that show this style also. It makes for a nice set of cards if you want to give a gift. The cards are all the same color but they all look different. Makes assembling the cards quicker because you can use all the same colors on them if you desire.

Here’s the 3 that are done 😊 I’m still trying to decide if the last one needs anything else, any suggestions?


I decided I wanted to try some watercolor backgrounds with this lighthouse Stamp. It is a Divinity Design image, they used to be known as Our Daily Bread stamp company. I googled lighthouses/sunsets and took some pictures off of the web as inspiration. Thanks for stopping in…which one is your favorite?


I have been wanting to use some of my Art Impression Stamps lately and decided that today was the day. I used a new set, It’s one of the wa...