
Pop up Partial Die Cutting
1. Decide what you want to use at the edge for your partial die cutting, this can be words or a shape. DO NOT SCORE CARD BASE!
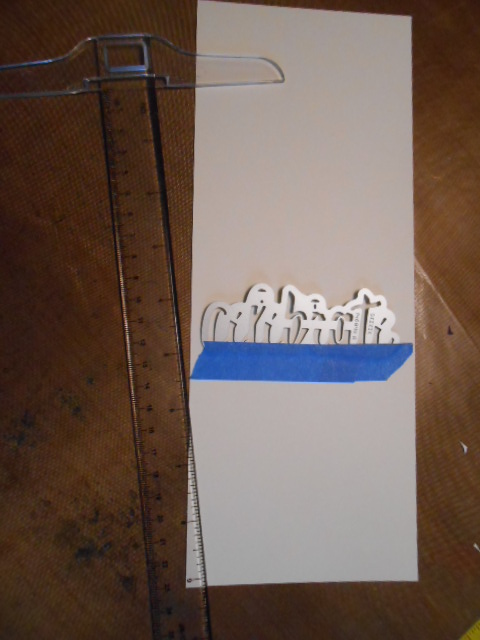 2. I like to use painters tape to hold my chosen die in place but I have found that it can rip the paper so I press in on my clothes before putting down. When you do this you need to remember that the words/shape will be above the fold. I use a “T” ruler to help line this up straight and to keep the top of my chosen die right at the 5.5” so my card will fit in the A-2 envelope. Placing the painters tape right where you want to cut will help in step three.
 This next picture shows how to put your cardstock and plates on the big shot. I have found that the best way to do this is to put the cardstock with the painters tape right at the edge of the platform and place the cutting plate on top lining up its edge with the painters tape which is where I want it to cut. Run through the BigShot making sure that the plates don’t slip and cut crooked. (I like to run the plates through with the cutting last – it is easier to be sure the plates won’t move on you).
4. Now take the ruler (my “T” ruler works for this to keep everything straight) and BETWEEN the letters or either side of the shape, score the card—DON”T score across the letters or shape - this will help the letters/shape to stand up and not fold back.


5. Gently fold the card now and then you’ll need to cut the bottom of your card stock off. The letters/shape will be attached to the front of the card – how cool is that!!! :0)
6. To finish my card I die cut the word YOU 5 times and then glued them together. In the first picture with the words and pink washi tape I show that I tape the word onto the cardstock. My reason for this is that I’ve been cutting with the cut side of the die up so that means I have to have the die laying on the magnetic or precision plate then the cardstock and lastly the cutting plate. I watched a video from ?? and she said that you will save your cutting plates from wearing out and cracking if you do it this way. The magnetic and precision plates do not have any give to them whereas the cutting plate does. Since I’ve been doing this I have noticed that the plates don’t warp so badly – I flip the plates to help with this but I had been doing that , yes they still get cut but that can’t be helped.
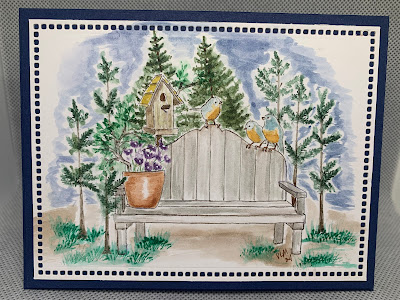
7. To finish the card I decided to use a die to cut a window in the front of the card to place the die cut YOU inside. Decorated the front and oh yes I did place a piece of colored card stock on the inside of the card so when opened you wouldn’t see the letters cut out of the back of the card.


No comments:
Post a Comment